The following is a syndicated post that originally appeared on Real Money Robert, and is published here with permission. It may contain affiliate links.
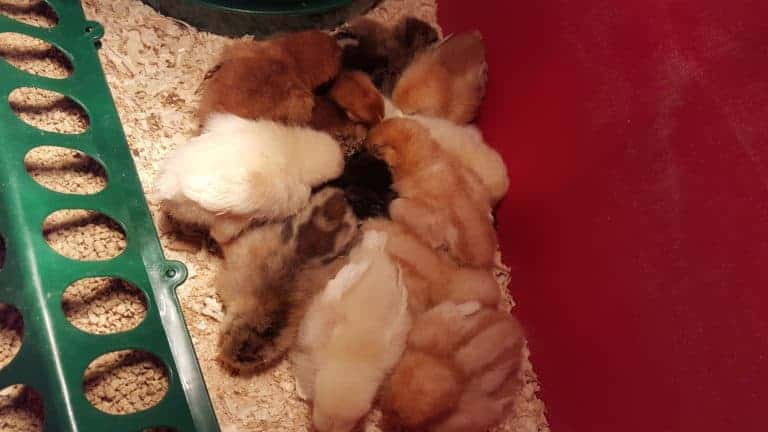
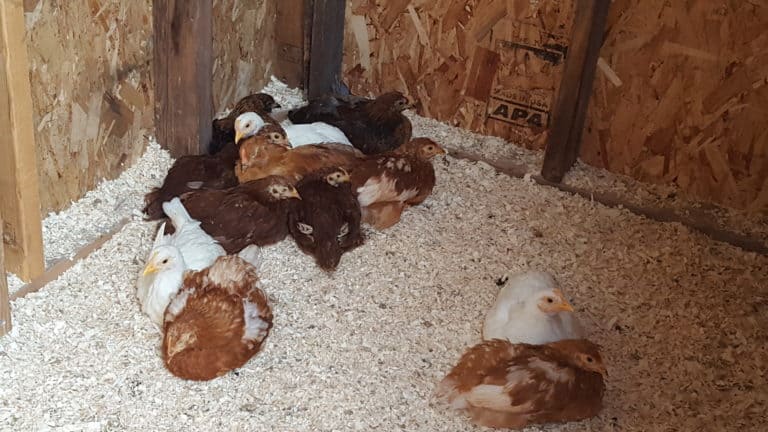
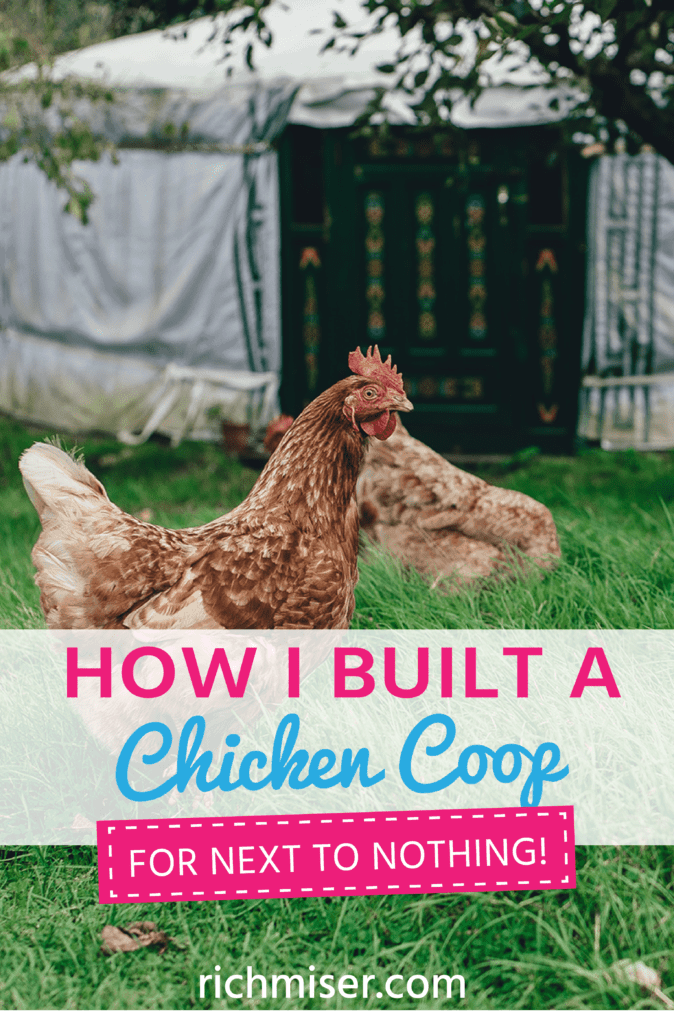
Last spring, we decided to get chickens as a family, so that our kids could interact with them, learn a little responsibility, and we could get some free eggs out of the deal as well. Once my fiancé finally convinced me to get the chickens, we had them all set up in a brooding box, I needed to get to work on getting their chicken coop built, and pronto! They were quickly going to outgrow the brooding box. We did have 12 chickens after all and the brooding box consisted of a large tote that we weren’t using.
The problem with the quick turnaround was that we didn’t have a lot of cash! I wasn’t about to drop $600 dollars on a chicken coop, so I looked around the pole barn for materials. I had almost enough 2x4s and plywood laying around to get the bones of the coop built. We also had some cement bases that were left at the house when my fiancé first bought the house, so I had a decent amount to start with. I quickly got to work building the chicken coop.
Keep in mind that this is not a full how-to on building the coop as you read through my progress, more of a descriptive narrative on how I was able to do it while spending hardly any money. Also, in the effort of full disclosure, I did have to purchase items for actually taking care of the chickens, such as a feeder and waterer, as well as a heat lamp. However, these are pretty affordable and this post is about building the coop itself, not the overall costs of raising chickens!
For a full how-to, head over to Country Living for some ideas!
If you’re interested in learning more about how to use craigslist and other methods to get free stuff, check out my post that gives a how-to on getting free stuff!
Step 1: Building the Floor
I only had one full 4’x8’ sheet of plywood, so I decided that I would use that for the floor since it would make the clean-up process easier than piecing the floor together with the smaller sheets of plywood. I measured and cut all of the floor joists out of the 2x4s and attached the plywood to the 2x4s.
Next, I laid out the cement bases where we wanted the coop to go and leveled them out. I placed the floor on the bases and made sure everything was perfectly level.
Step 2: Building the Walls
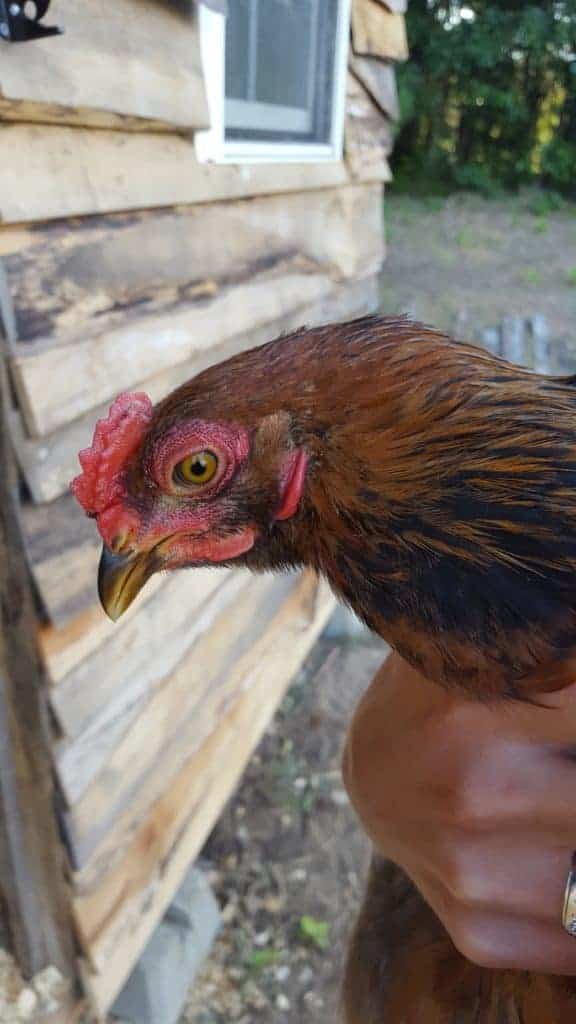
Next, I measured and cut the walls and attached all four walls to the floor, leaving the front of the coop higher than the back for the pitch of the roof. I also built a door in the center of the back wall to give the chickens access to their run. I left an opening for the main entrance door as well as for the front window to allow more light into the coop.
Step 3: Building the Roof
At this point, I was out of 2x4s that were long enough to utilize, so I had to fasten some shorter 2x4s together in order to get the length I needed for the roof. Once I was done with this, I cut them to size and attached the roof to the top of the walls.
Step 4: Applying Exterior Sheeting
Next, I used all of the plywood that I had available that was in small pieces and pieced them together to sheet the entire exterior of the coop, including the roof.
Step 5: Shingling the Roof
Next, I had a couple bundles of shingles left over from when they put a roof on the house, so I used some of these to put shingles on the roof. I did have to buy a box of roofing nails since I didn’t have enough of those lying around to properly attach the shingles. Total cost: $10
Step 6: Installing the Window
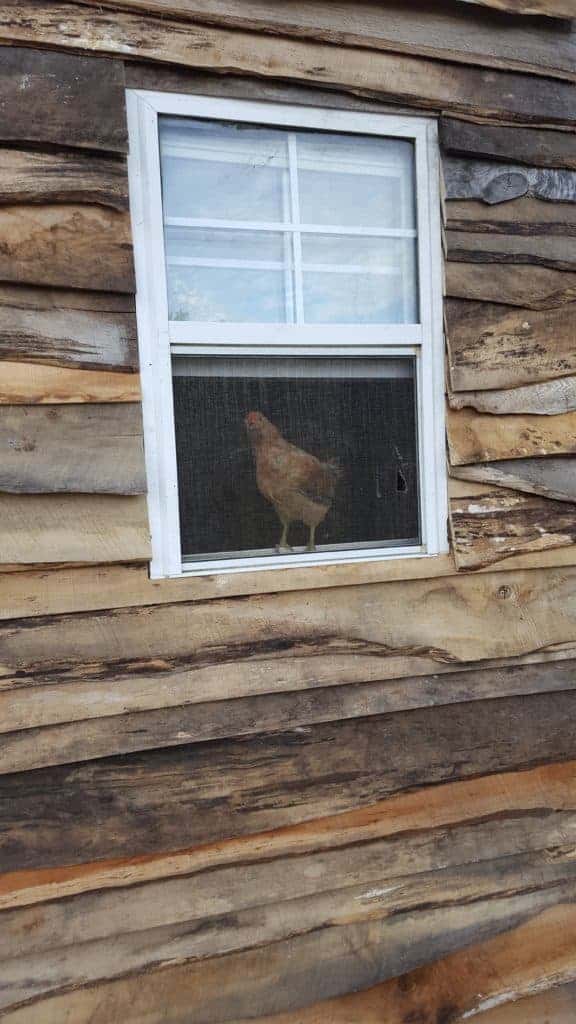
We had four different windows laying around the house that were set to go to the scrapyard. I picked the one in the best shape that fit the size of the coop the best and got it installed in the opening I left for the window.
Step 7: Obtaining Slab Wood for the Exterior Siding
At this point, I had been looking around for materials to finish the exterior of the coop. I stumbled upon a post on Craigslist giving away free slab wood. I quickly met up with the individual and filled my truck and trailer with as much as I could fit. Then I began the process of picking through what I was able to use for siding. What I didn’t use for the coop I’d save for another project sometime down the road. I left some vent openings in the top of the coop while installing the siding. Once the siding was attached, it was time to build the door and get this project wrapped up.
Step 8: Building the Door
The door of this coop is my favorite piece and also cost the most money out of the entire project. I found the 1-inch boards and galvanized on Craigslist and had to purchase the hardware kit from Menards. Total cost: $30, which was well worth it as I wanted to make sure the door was functional and safe to protect our chickens from predators.
Step 9: Moving the Chickens in
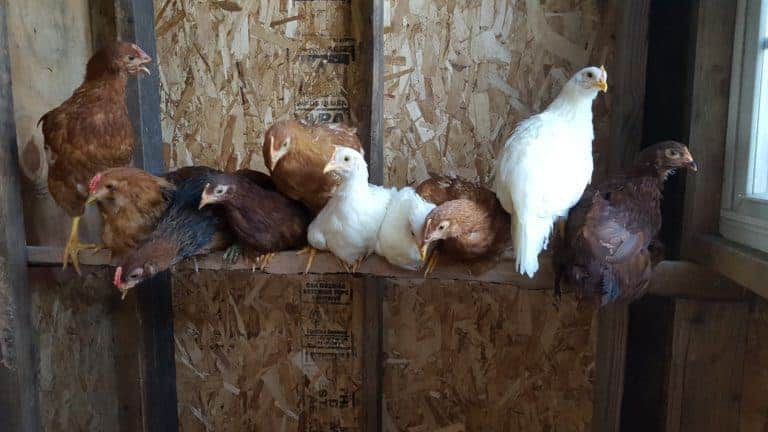
At this point, I was able to move the chickens into the coop. I also built their roosts out of the slab wood, within the first couple days of moving them into the coop.
Step 10: Building their Nesting Boxes
Next, I built the nesting boxes out of the leftover lumber I had for the project. I also had some galvanized steel left, so I used that for the rood of the nesting boxes.
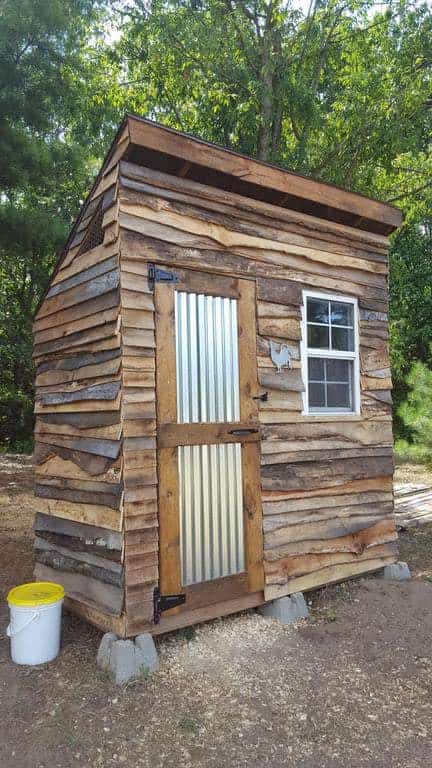
Final Product:
Final Thoughts:
In total, I spent about $40 to build a chicken coop that would have cost me around $500-600 to purchase (and would have been much smaller). By utilizing my construction skills, handiwork, and the art of the deal (finding free stuff on Craigslist), I was able to build a great quality outbuilding to house my chickens for years to come!
In the interest of full disclosure, we did have to buy some start-up supplies for the chickens since we did not have any. We need Feeders and waterers, but they are relatively inexpensive. Here is a decent one you can find on Amazon.
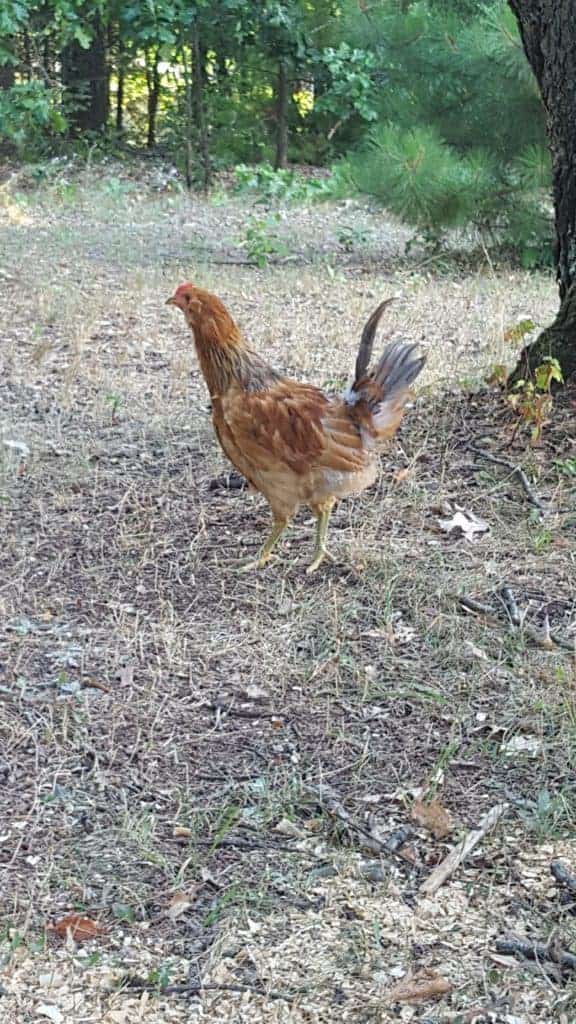
Bonus! I’m able to sell the eggs and I no longer have to purchase eggs at the store. This brings in a little extra cash every month, which we all can use. I’ve already paid for the $40 I spent on the coop, so anything we make moving forward is all profit!
What are some things that you’ve built for little-to-no cash?
-Real Money Robert

Well I’m a widow living on an acre of land in Oregon, I have a life long friend living with me, and we have fallen in love with fresh eggs, I’m not all to sure how to about , building a coop